Full Mouth Rehabilitation Treatment Plan
A carefully planned workflow — in the clinic and the lab — is what makes full-mouth rehabilitation predictable. From clarifying goals and facebow transfer to the diagnostic wax-up and prep-day bite sequencing.
SKDLA Technical Team
Master Ceramists & Technicians
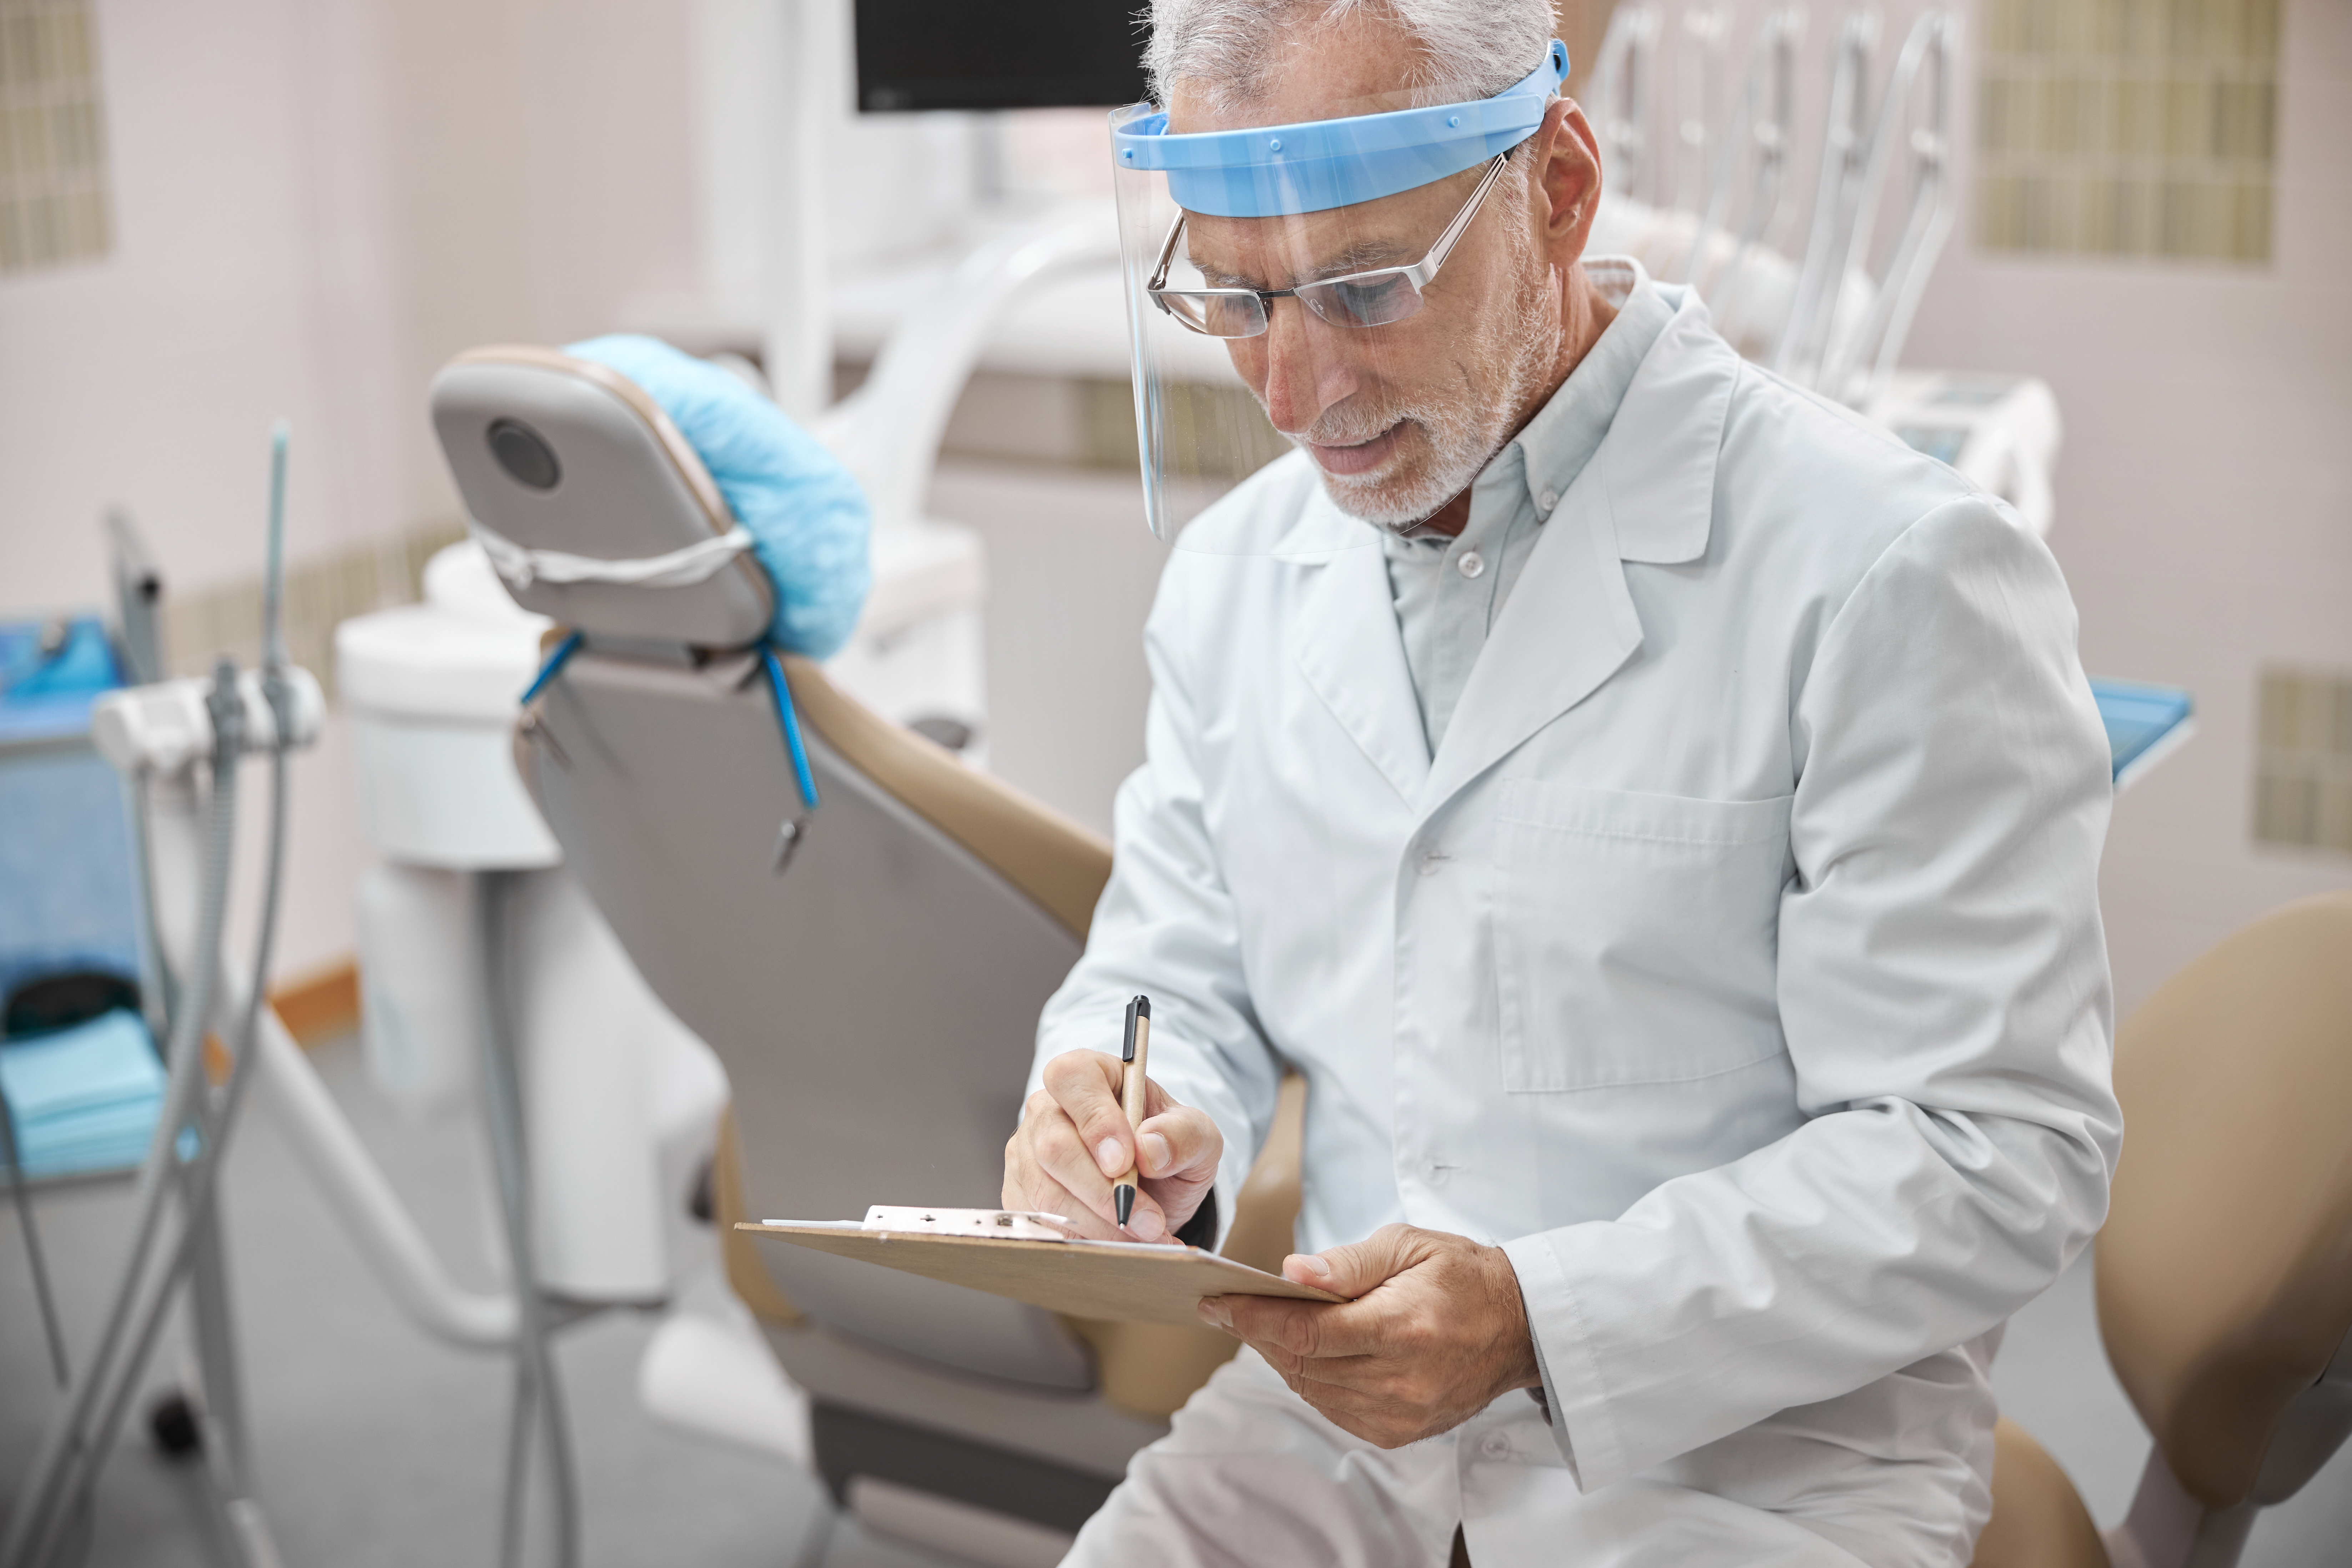
The treatment of a patient who requires a full-mouth rehabilitation should follow a carefully planned and executed workflow, both in the dental clinic and in the laboratory. At Spectrum Killian, it is our commitment to work closely with our doctors to achieve optimal outcomes through good communication at every stage. Here is a basic outline of a workflow we've found ensures great results and happy patients.
Clarify the Goals of Treatment
Discuss the patient's concerns and expectations for the final outcome, including any changes to:
- Position of the incisal edge of teeth #8 and #9
- Buccal corridor contour changes
- Shade and shape of the teeth, amount of translucency, and surface texture
- Changes to VDO and the envelope of function
- The type of restorations included — PFZ, veneers, PFM, etc.
Set realistic expectations about the time required, including the possibility of additional adjustment appointments. This type of treatment should never be scheduled close to a patient's travel plans.
Write a Detailed Laboratory Prescription
Include all of the information discussed above; use additional sheets as necessary. While it's a good idea to discuss the instructions with the technician, conversation should never be a substitute for a written prescription.
Pre-Op Impressions & Smile Design Photos
We'll need good, detailed VPS impressions of the preoperative condition — both upper and lower arches — plus a set of five smile-design photos.
Face Bow Transfer
Provide a facebow transfer to establish the patient's midline and horizontal plane of occlusion. If unavailable, a stick bite can be used, but it is not a substitute for a facebow. Let the lab know which articulator you use; if we don't stock it, we may ask to borrow yours for the duration of treatment.
Meet with the Laboratory Technician
Hold a meeting — by phone, video, or in person — to discuss the treatment plan and establish a thorough understanding of the case for everyone involved. Topics should include the type of restorations, esthetic concerns and goals, any changes to the original Lab Rx, and all information in the Rx document.
The Diagnostic Wax-Up
A diagnostic wax-up works out the functional and esthetic considerations for the case. While a digital workflow can be used for some cosmetic wax-ups, an analog process performed by one of our master technicians is highly recommended for full-mouth rehabilitation.
We can provide prep guides and putty-wash matrices for making temporaries chairside — letting you and the patient dial in occlusion and contours over a two-week period. Take a set of study impressions of the temps in situ before final impressions, and send it to the lab with bite registrations over the temps.
Prep Day — Maintaining the Pre-Op VDO
- Prepare teeth 3–5 and 28–30 and take a bite registration over them using a semi-rigid material (e.g., Futar / Futar D). Unprepped teeth 2 and 31 serve as occlusal stops.
- Prepare the opposite-side posteriors 12–14 and 19–21. Keeping the right-side registration in place to stabilize the bite, take a registration over the left-side posteriors; unprepped teeth 15 and 18 serve as stops.
- Repeat for the anterior twelve teeth, replacing the posterior registrations to stabilize the bite.
- Prep teeth 2, 15, 18, and 31. Replace posterior registrations and add new material to incorporate these into the bite.
Prep Day — Opening the Patient's VDO
- Capture the patient's CR position using a leaf gauge.
- Take a bite registration at the leaf gauge and the most posterior stops (2/31 and 15/18) to maintain the new VDO during the registration process.
- Prep and take bites as above, using the leaf gauge and posterior stops to maintain the new VDO.
Take full-arch impressions using the dual-cord technique to expose a clear, traceable 360° margin on each tooth. Additional quadrant impressions may capture unclear margins, but the full-arch impression must be accurate enough to serve as a working model. Significant distortions will require a new set.
Use the putty/wash matrix from the diagnostic wax-up to fabricate the temporaries.
Provisional Recall Appointment
Adjust occlusion and esthetics until you and the patient are satisfied — and the situation remains stable for two weeks — before proceeding to final restorations.
Keep reading
Related from the journal
 Clinical Technique
Lab Tips for Anterior Cases Involving Two or More Teeth
Multi-unit anterior work rewards preparation. From pre-op records and bite registration to impressioning, shade, photography, draw, and implant componentry — a field guide for predictable results.
Read article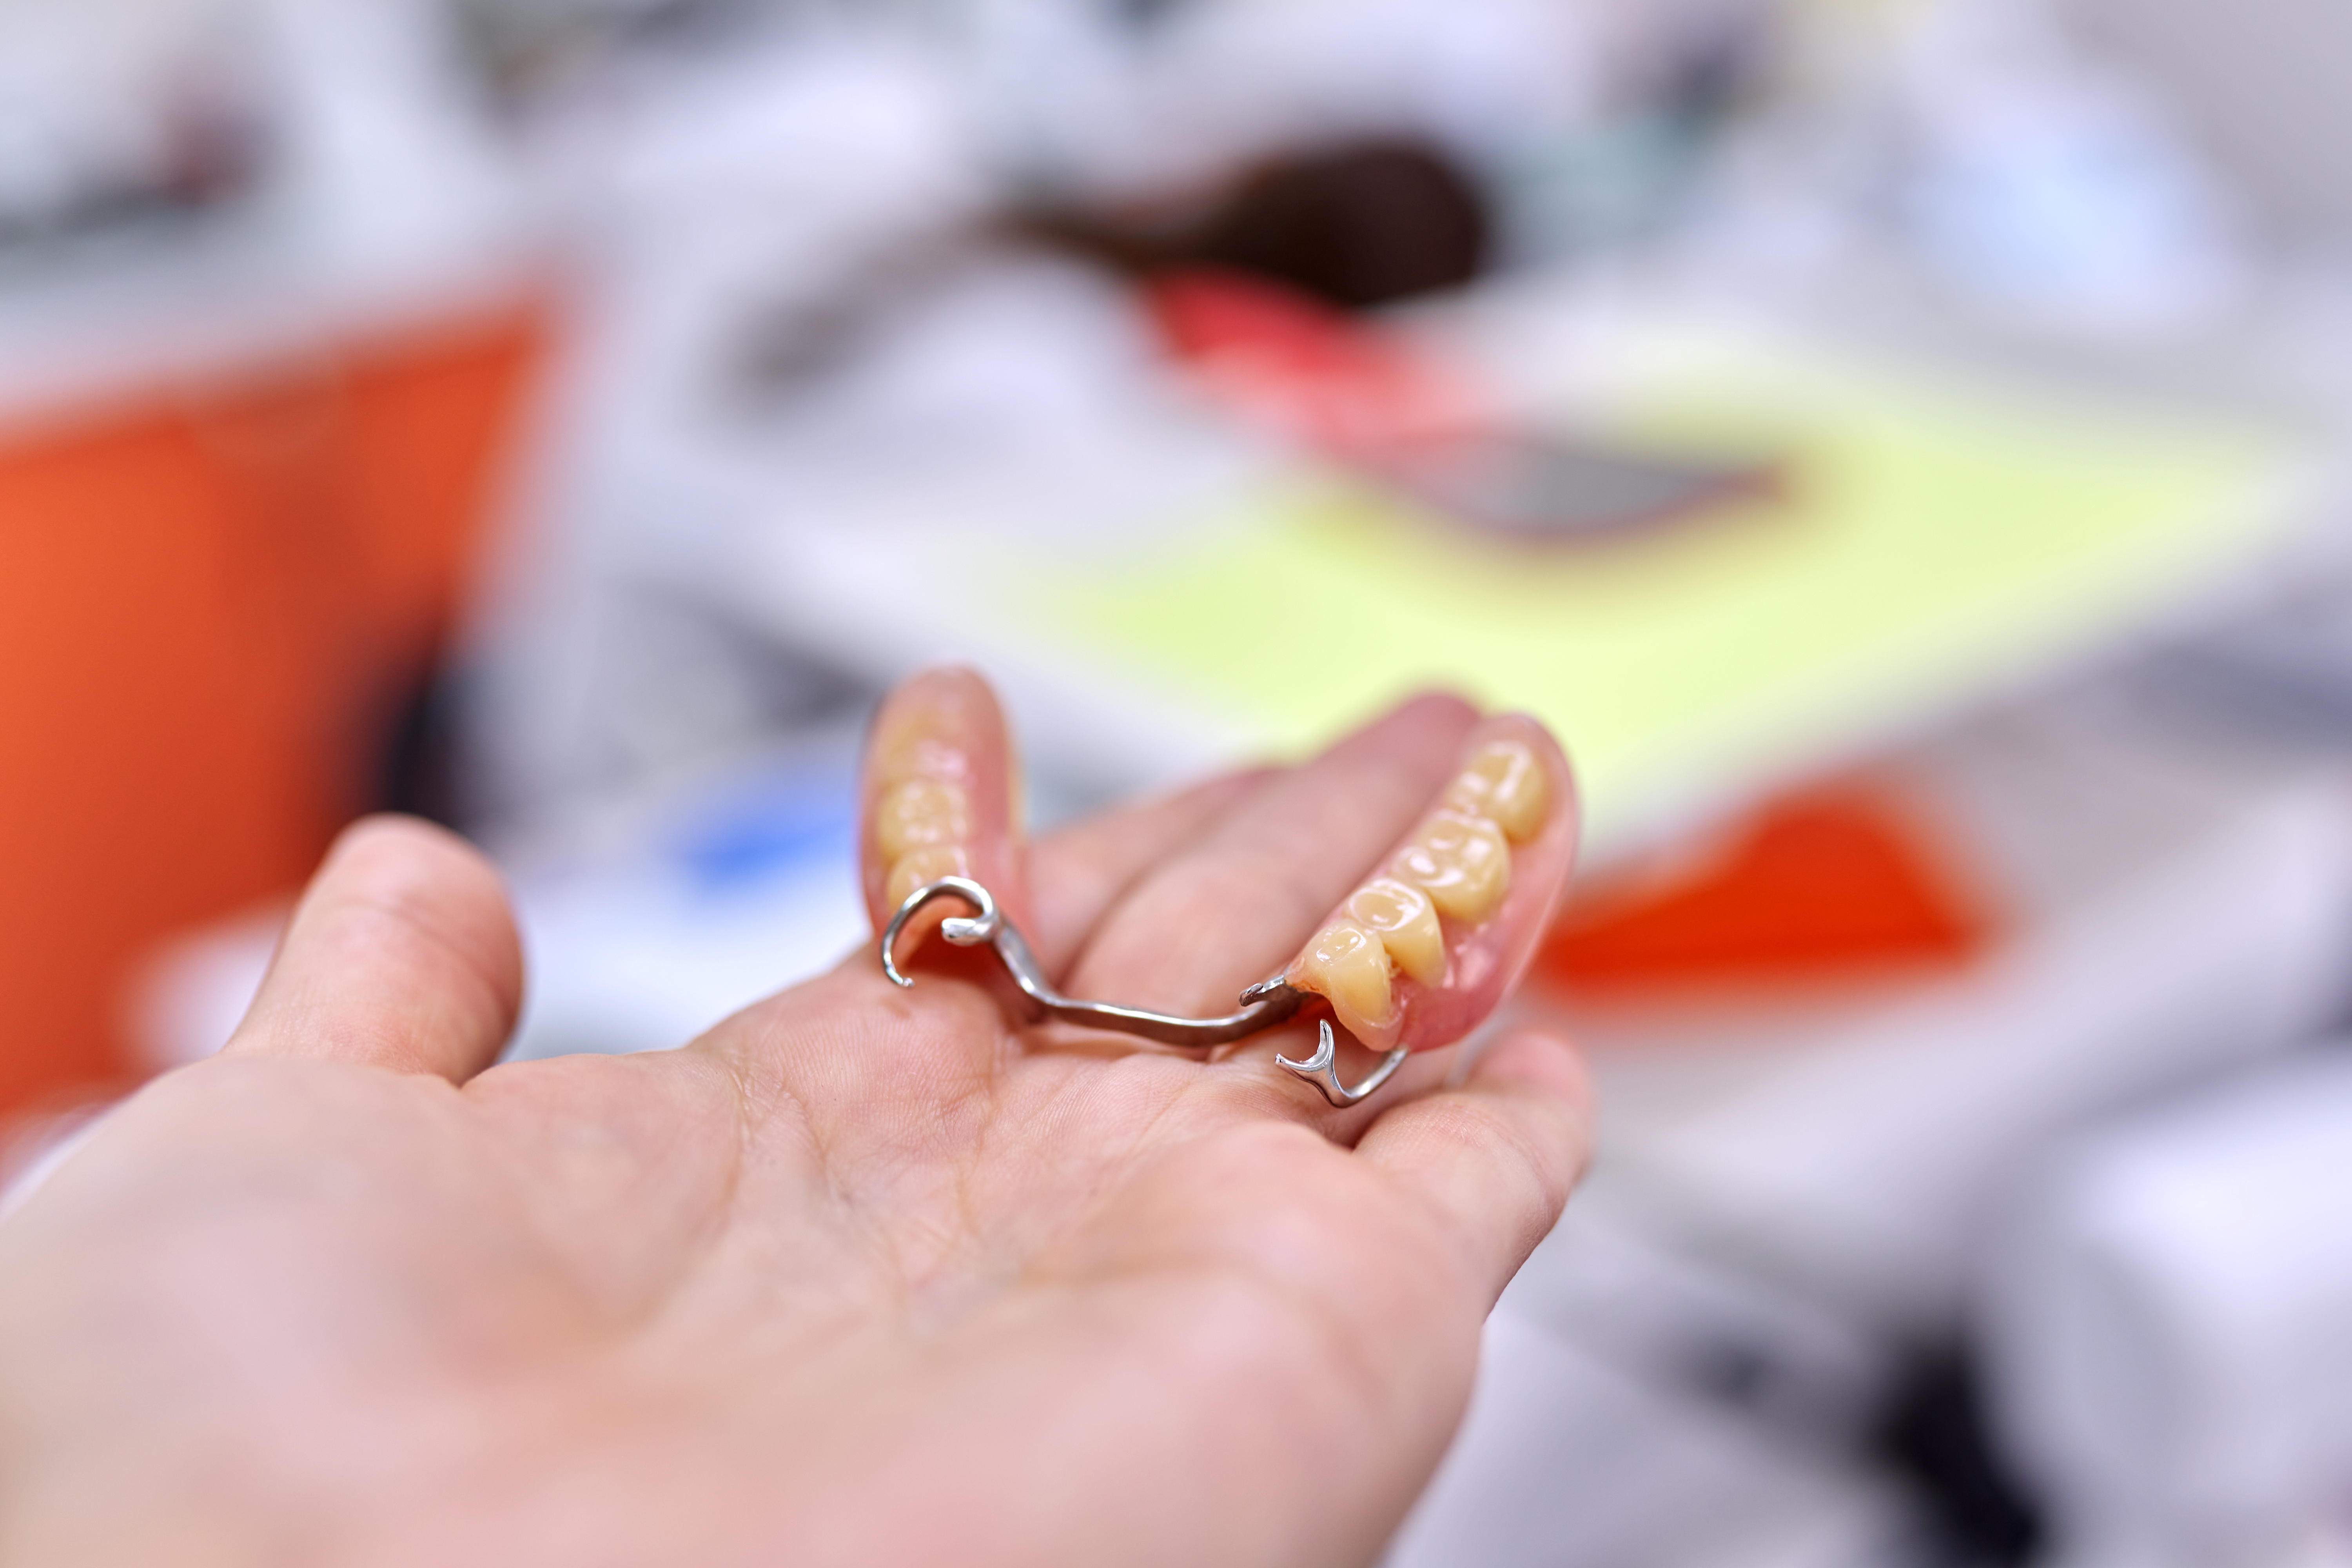 Removables
Clasp Adaptation — Without Sending the Partial Denture to the Lab
When a patient can't part with their partial, you can still adapt a new crown to the existing clasp and rest. A chairside indexing technique using a heavy-bodied PVS or polyether.
Read article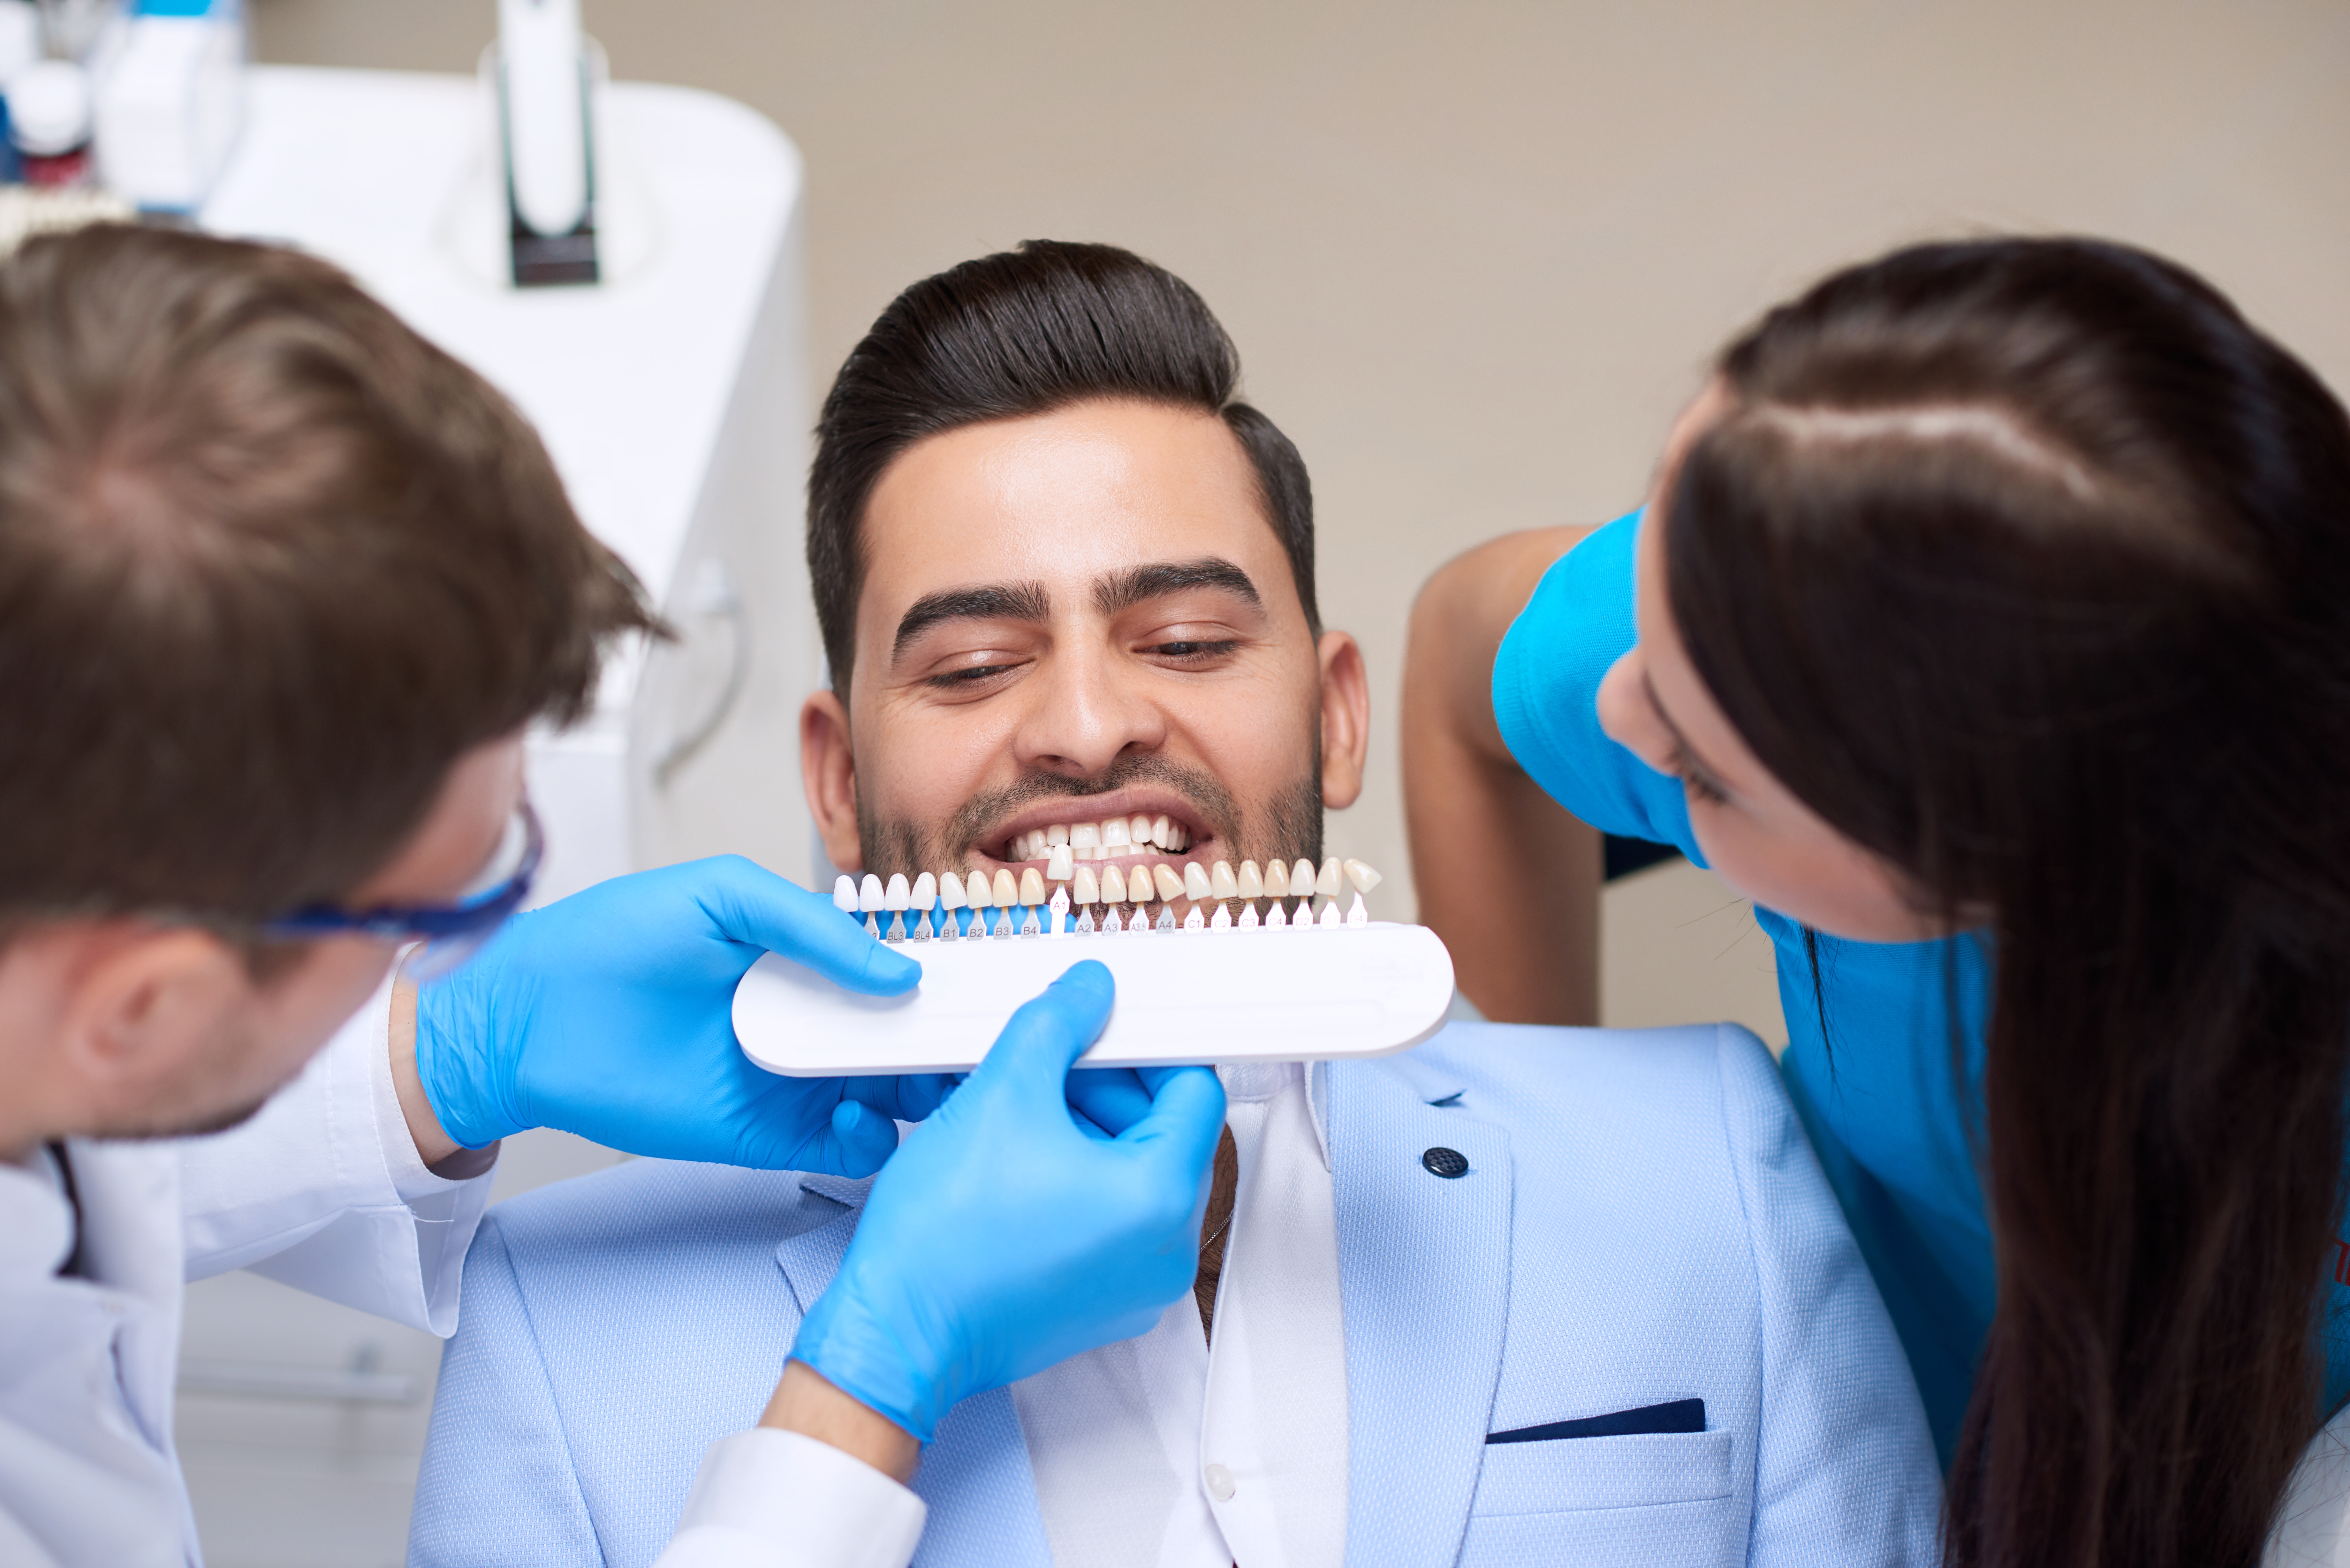 Esthetics
Shade Accuracy Guidelines for Restoration
A few must-follow guidelines make a world of difference in a patient's smile. From bleaching timelines to hydration and reflected light, here's how to capture a shade that looks completely natural.
Read article