Shade Accuracy Guidelines for Restoration
A few must-follow guidelines make a world of difference in a patient's smile. From bleaching timelines to hydration and reflected light, here's how to capture a shade that looks completely natural.
SKDLA Technical Team
Master Ceramists & Technicians
These few must-follow guidelines can really make a world of difference in a patient's smile. The goal is for the end result to look as natural as possible — and using these methods is a great way to avoid undesired results.
Bleaching Patients
If a patient has been bleaching, schedule the final shade appointment at least two weeks after the last bleaching treatment. Teeth may be cloudy-white for a time after bleaching and become more translucent after two weeks. These changes could have an undesirable effect on the final shade match. When a drastic color change is noticed after bleaching, the color can also rebound slightly toward the original shade.
Two weeks may not be enough for patients experiencing drastic changes from heavy bleaching. The shade must be stable at the final appointment to ensure the best color and esthetic result.
Bright Colors Affect Shade
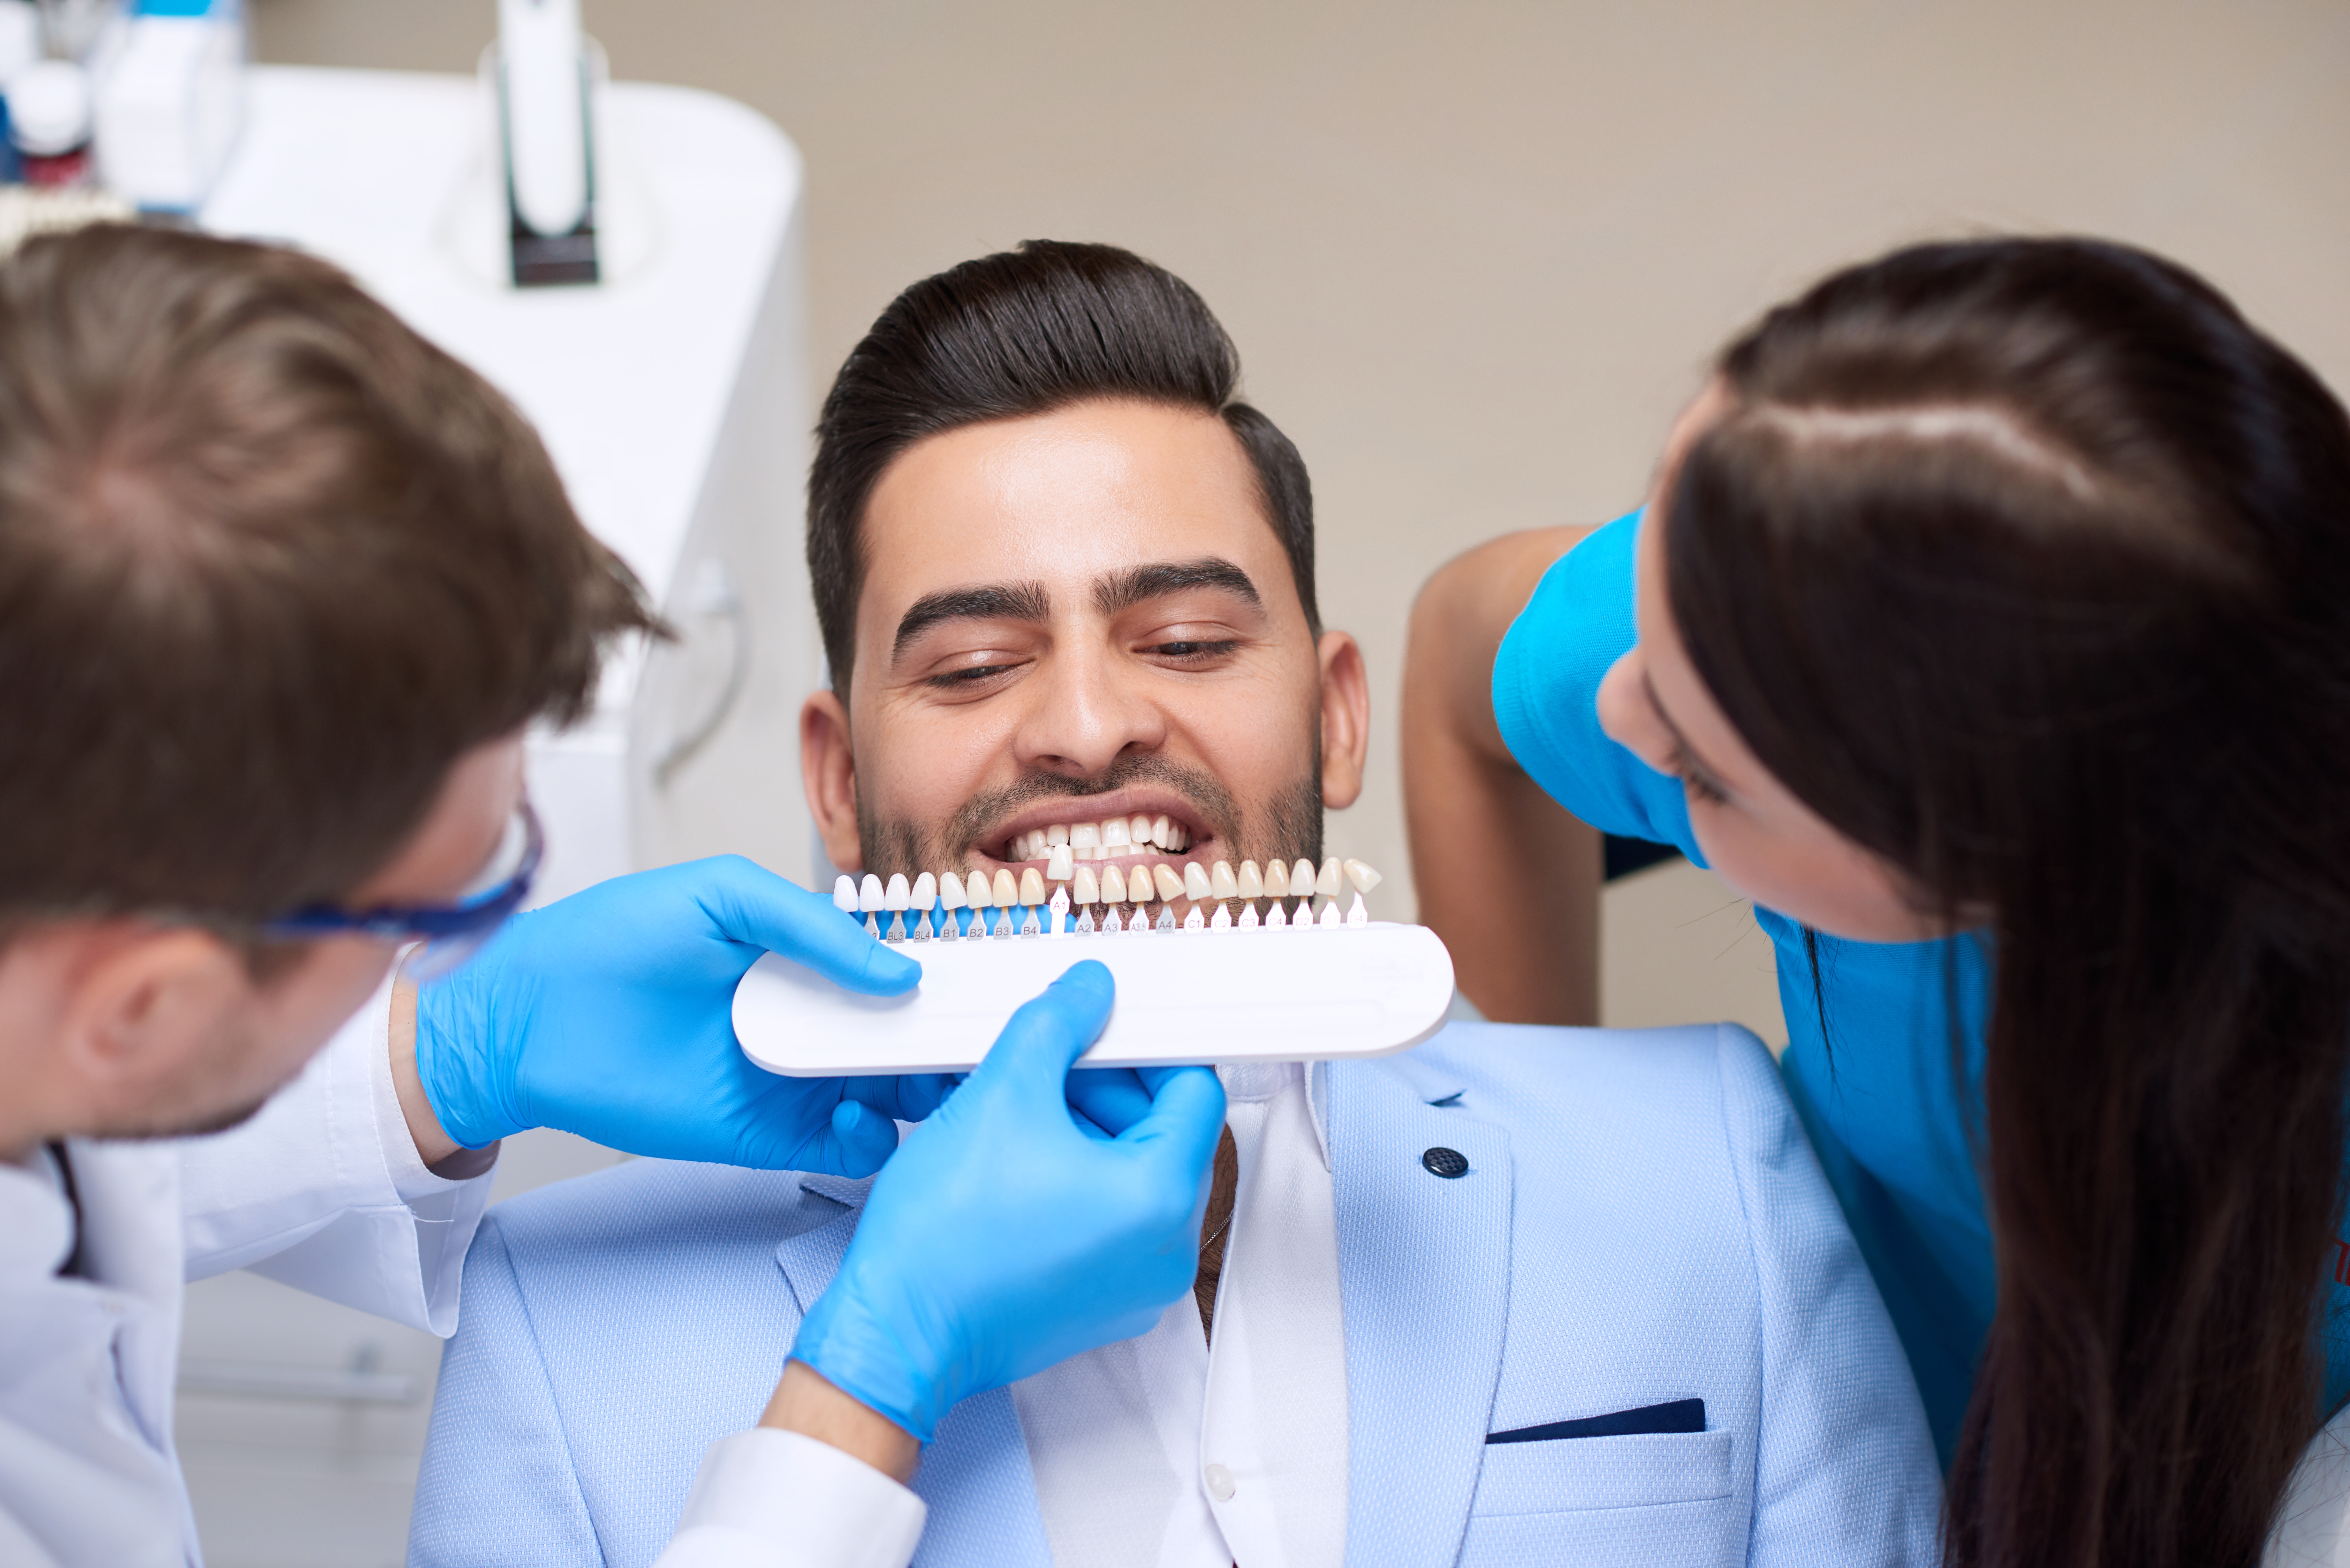
It is imperative to eliminate sources of reflected, colored light:
- A patient should always remove lipstick before a shade is taken.
- Neither patient nor personnel in the shade-taking area should wear bright-colored clothing — cover colored clothing with a light-blue sheet or smock.
- Avoid bright-colored walls or furniture nearby; they reflect colored light and affect the accuracy of your shade and photographs.
Hydrate Teeth
Teeth must be hydrated to match the shade — it is best to take the tooth shade before preparation, as shades can be adversely affected by dehydration afterward.
To understand hydration's effect on shade matching: the dentin layer is primarily responsible for the chroma of a natural tooth. The enamel varies the appearance of that chromatic dentin layer by scattering light — more scattering makes enamel appear translucent; reduced scattering makes it appear opaque, masking the chromatic dentin beneath.
Shade Tab System
We have found the Vident 3D-Master system offers a precise evaluation of shade, with a systematic arrangement of virtually all existing tooth shades, including bleached shades. Selecting a shade is a 3-step process — making simplified choices of value first, then chroma, and finally hue.
Keep reading
Related from the journal
 Clinical Technique
Lab Tips for Anterior Cases Involving Two or More Teeth
Multi-unit anterior work rewards preparation. From pre-op records and bite registration to impressioning, shade, photography, draw, and implant componentry — a field guide for predictable results.
Read article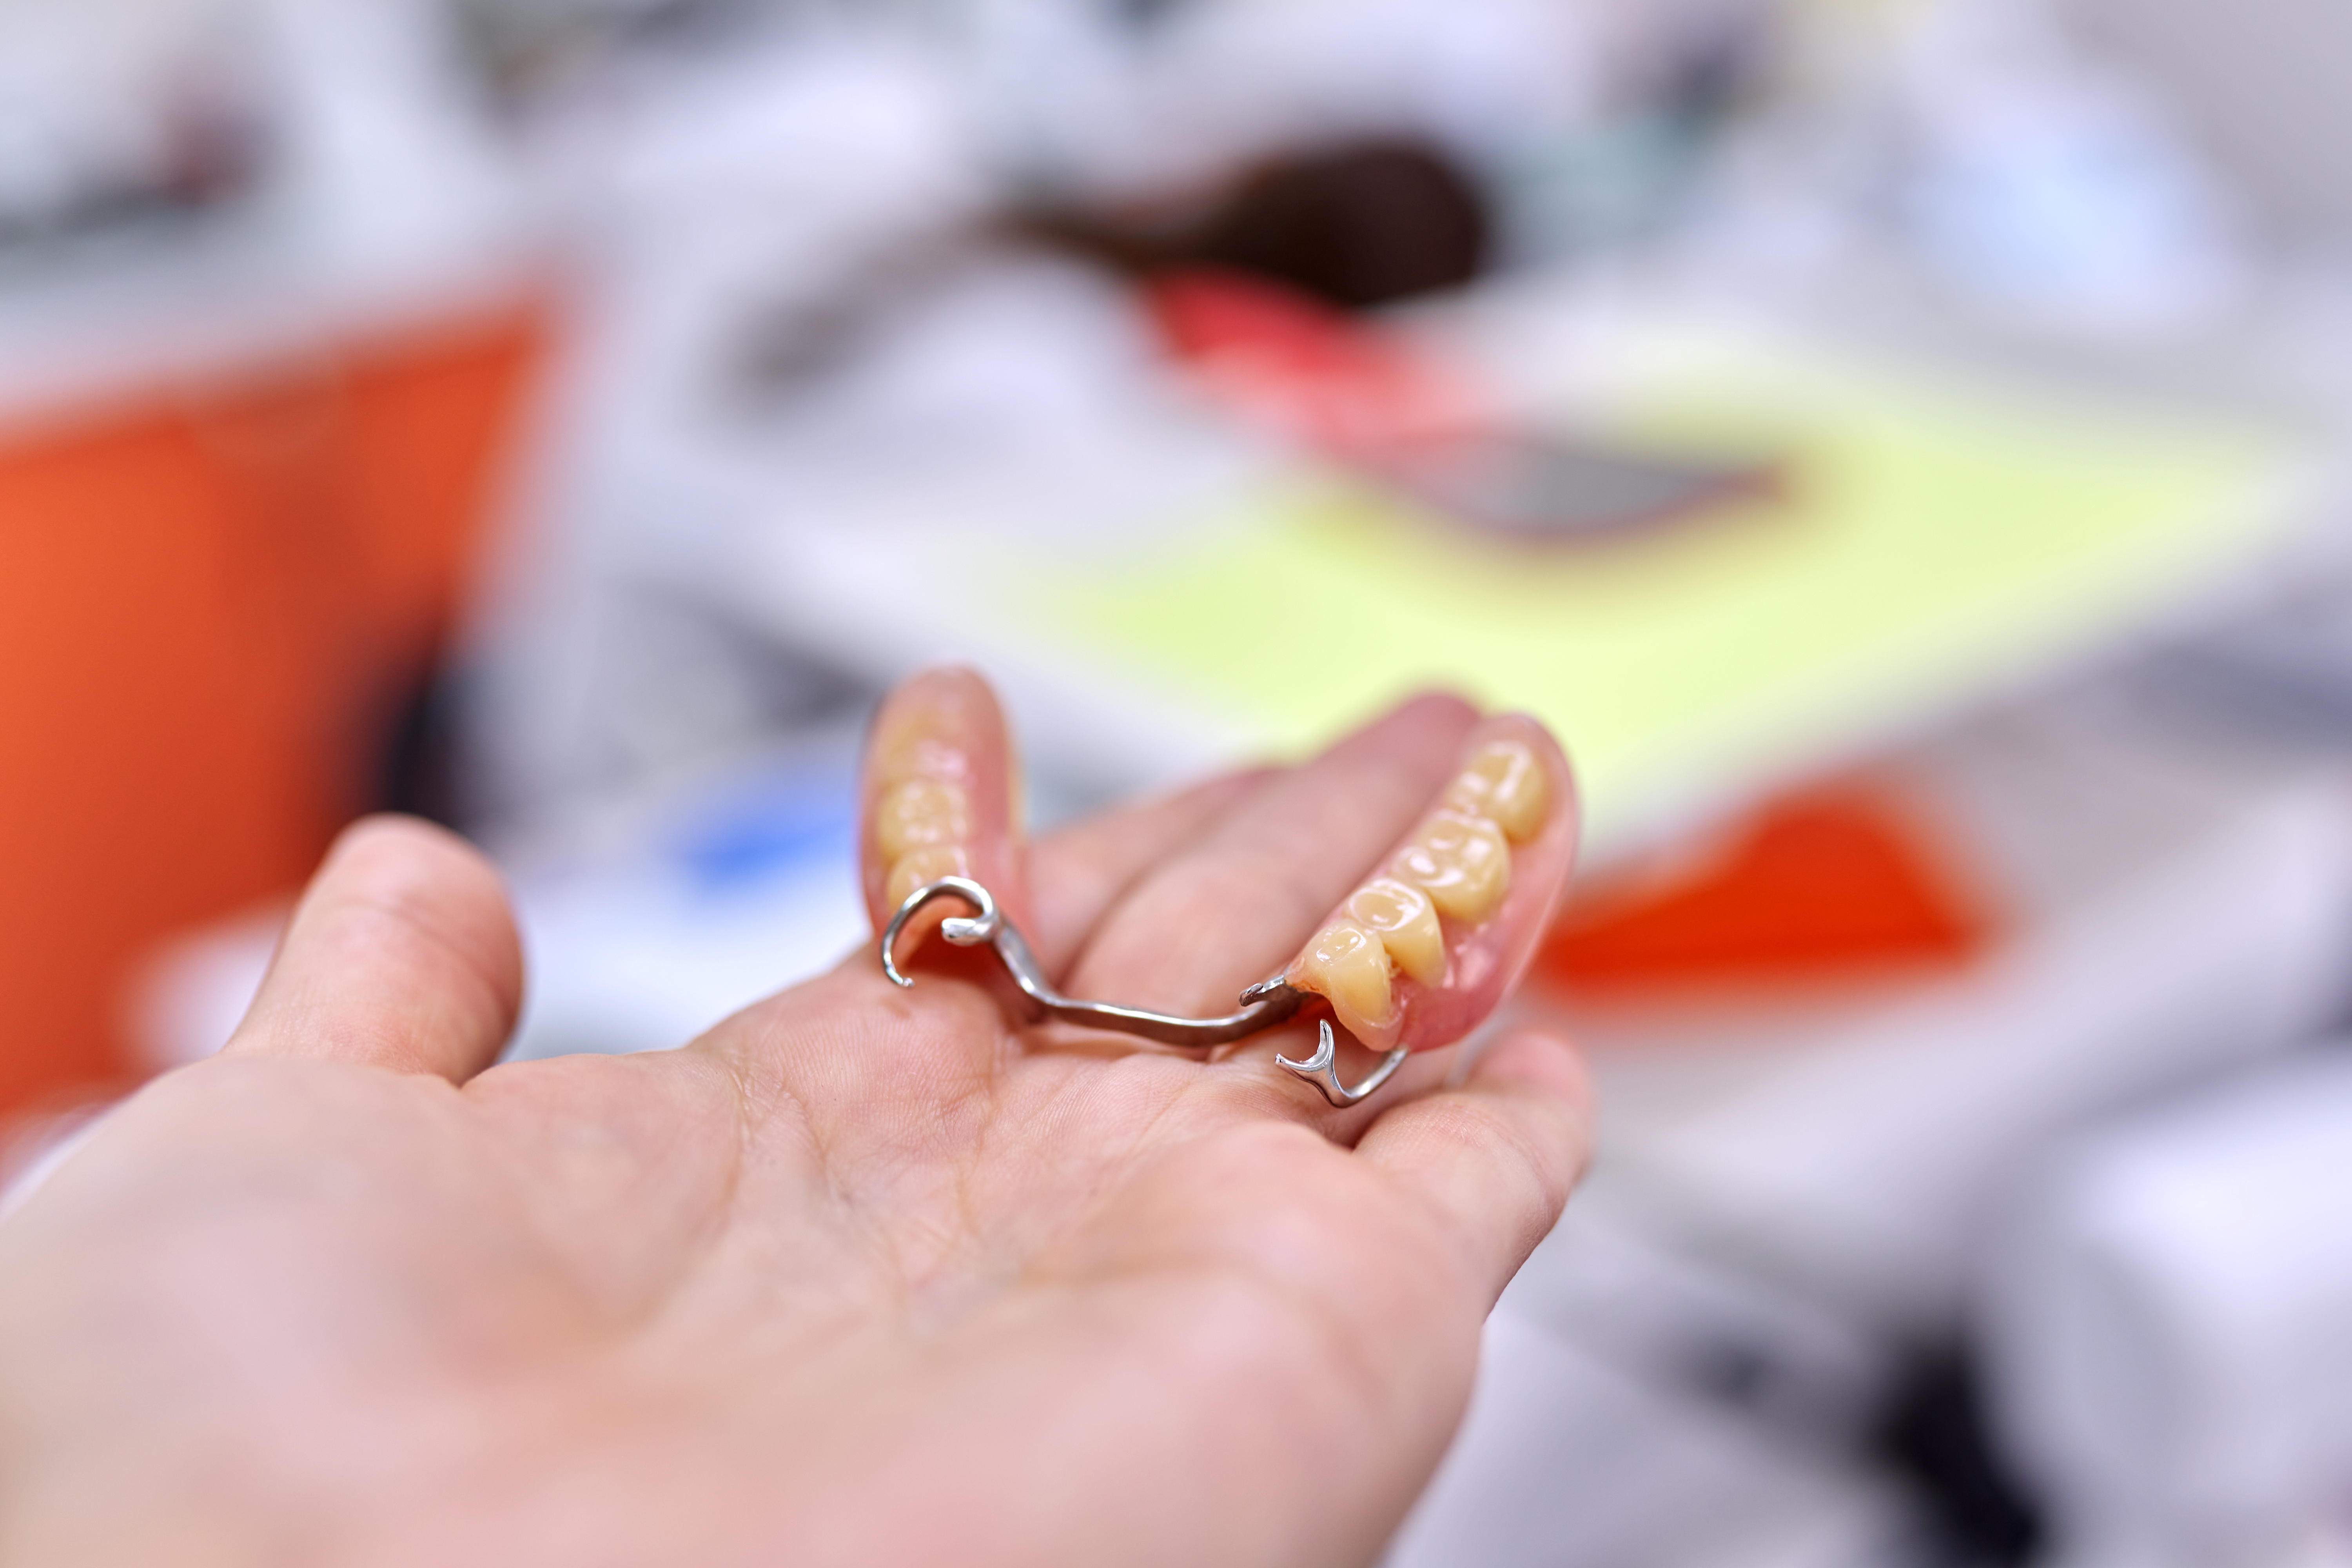 Removables
Clasp Adaptation — Without Sending the Partial Denture to the Lab
When a patient can't part with their partial, you can still adapt a new crown to the existing clasp and rest. A chairside indexing technique using a heavy-bodied PVS or polyether.
Read article Clinical Technique
Full Mouth Rehabilitation Treatment Plan
A carefully planned workflow — in the clinic and the lab — is what makes full-mouth rehabilitation predictable. From clarifying goals and facebow transfer to the diagnostic wax-up and prep-day bite sequencing.
Read article